People believe that for a successful proofing you need to know which is the best bread proofing temperature for your dough. I can agree with this point and I totally think that it’s good to know the fundamentals.
However, I also know that there are many bread cookbooks that don’t focus on giving specific temperatures for proofing. In that case, you just have to know how to check if the dough is properly proofed.
Contents
Best Bread Proofing Temperature: Between 70 and 81 Degrees Fahrenheit
My general recommendation is to proof your dough at 81 degrees Fahrenheit (27 degrees C), although the best bread proofing temperature can also be 75 degrees Fahrenheit (about 24 degrees C). These things are not really set in stone.
Or a more general range, you can proof it at temperatures between 70 and 81 degrees Fahrenheit (21 to 27 degrees C).
This is also called a warm proof.
A cold proof will be done at 50 degrees Fahrenheit (10 degrees C). That’s done in the fridge and it’s especially done for pizza dough. You can totally expect that this will take much longer than one hour and a half. It can take 12 hours but it’s not unusual to keep the dough in the fridge for 24 hours or even 48 hours.
How to tell that the dough is properly proofed
Between one hour and one hour and a half is the general time that this final rising stage takes. Once it’s complete, it’s time for baking so don’t forget about preheating the oven.
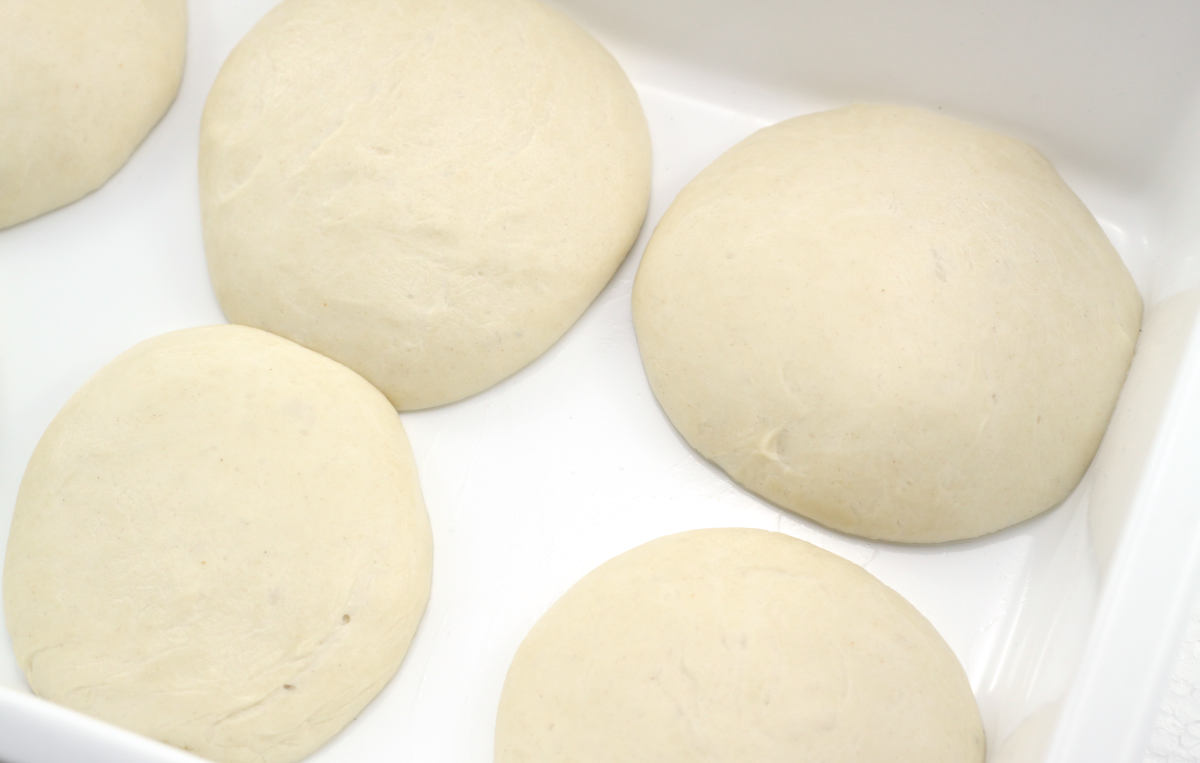
The easiest way to tell that your dough is properly proofed is simple: press your finger into the side of the dough making an indentation about 1/2 inch deep.
If the indentation comes back slowly and incompletely, it’s time for baking.
If the dough springs back up, it needs more time.
However, if the indentation doesn’t spring back at all, the dough is overproofed. It might collapse when you transfer it for baking but you can also be lucky and turn out perfectly baked, holding its form.
Underproofing is definitely more serious than overproofing.
The one hour timing is usually enough if the temperature in the house easily exceeds 80 degrees Fahrenheit.
An underproofed loaf can rip and explode in the oven where you’ve scored it.
Proofing is more about giving the dough the needed time to complete this stage than it is above matching temperatures with the utmost precision.
Overproofing will cause the dough to deflate once you score it. After baking, the loaf will come out flat.
I enjoy checking out that my dough has gone through the final rising stage rather than relying on things that can fluctuate, like the temperature in the room.
How to Proof Dough
Let’s see the three main ways in which you can proof dough. I’ll let you pick the one that seems most convenient.
Basic method
The easiest method is also the most straightforward one and it’s probably what you’ve been doing until now.
It just involves leaving the dough at room temperature to proof for 1 hour to 1 hour and 30 minutes, without any considerations for the best bread proofing temperature and other things.
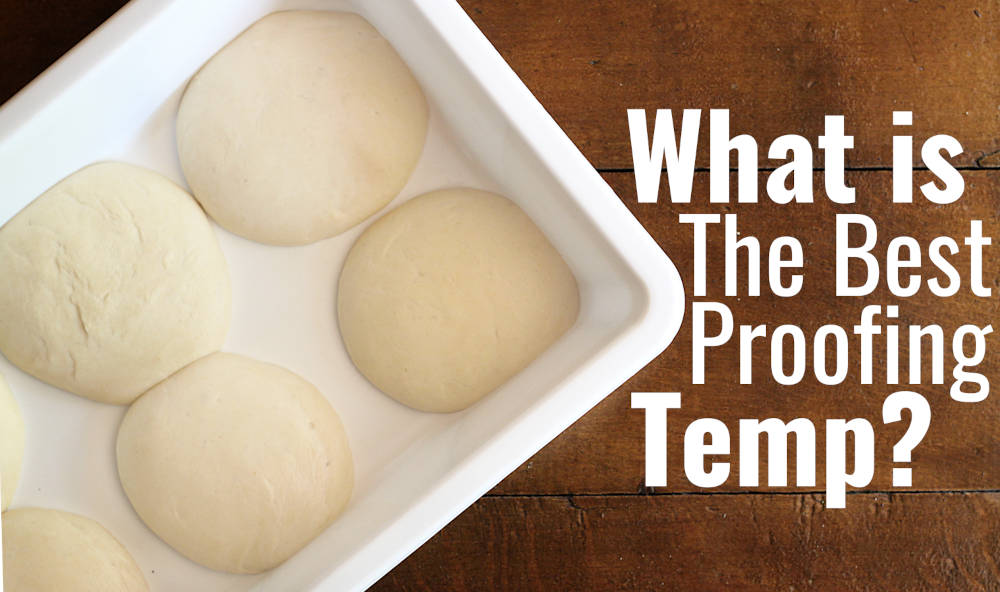
If you want to obtain a perfectly round or oval shape, you can proof the dough in a proofing basket. Other than that, it doesn’t involve any special equipment. This is the basic method.
You can also proof the bread directly into a loaf pan if that’s what you’re using for baking.
Or proof it in the bowl where it went through the fermentation stage.
In a proof box
Another method involves spending additional money.
There is a dough proof box that makes everything much easier but I imagine that not a lot of people will want to spend money on it. I wrote a review for it here, in case you’re interested to know more about how it works.
Nowadays, there are also countertop ovens that have a proof function among all the other baking functions. Those can be used for dough or for making yogurt and other similar dairy products, just like the proof box that I was telling you about.
In the oven
The other option is to use your oven as a proofing box. This one is very simple and it doesn’t cost a thing.
Place 3 cups of boiling water on the bottom of the oven. That will warm it up.
Place the dough inside. It should be proofed in about 1.5 hours. Don’t forget about applying the indentation test that I mentioned above.
The conclusion is that, while I agree that it’s good to know which is the best bread proofing temperature, I believe that testing your dough to make sure that it’s done with its second rising stage is much more important.
")

